Blinds are brilliant for privacy, light control and style—but like anything in the home, they gather dust, marks and grime over time. Whether you have Venetian blinds in the kitchen, roller blinds in the lounge or vertical blinds in a conservatory, a little regular care goes a long way. The good news is that maintaining your blinds doesn’t need to be a big chore. With the right techniques and a bit of consistency, you can keep them looking like new with minimal effort.
This guide walks through simple cleaning methods for different blind types, tips for tackling dirt and moisture, and advice on preventing damage over time. If you’d rather not take your blinds down or spend ages scrubbing, these easy steps will help you stay on top of maintenance without stress.
Why Cleaning Your Blinds Matters
Even if your blinds look fine at first glance, dust and grease build up quickly—especially in kitchens, bathrooms and busy living areas. Regular cleaning:
- Keeps your home looking fresh
- Helps prevent staining and discolouration
- Reduces allergens and dust build-up
- Stops mechanisms from sticking
- Prolongs the lifespan of the blinds
Leaving grime to build up can mean deeper cleaning later or even replacement sooner than expected.
General Tips Before You Start
Before you get stuck in, a few simple habits and bits of preparation make cleaning easier and safer:
- Close windows to prevent dust blowing around mid-clean.
- Avoid harsh chemicals—most blinds only need mild soap or a soft cloth.
- Check manufacturer advice if you’re unsure about materials.
- Test any cleaning product in a small, hidden area first.
- Vacuum the surrounding window sills and frames to stop loose dust settling back on the slats or fabric.
With that in mind, let’s look at quick and effective methods based on the type of blind you have.
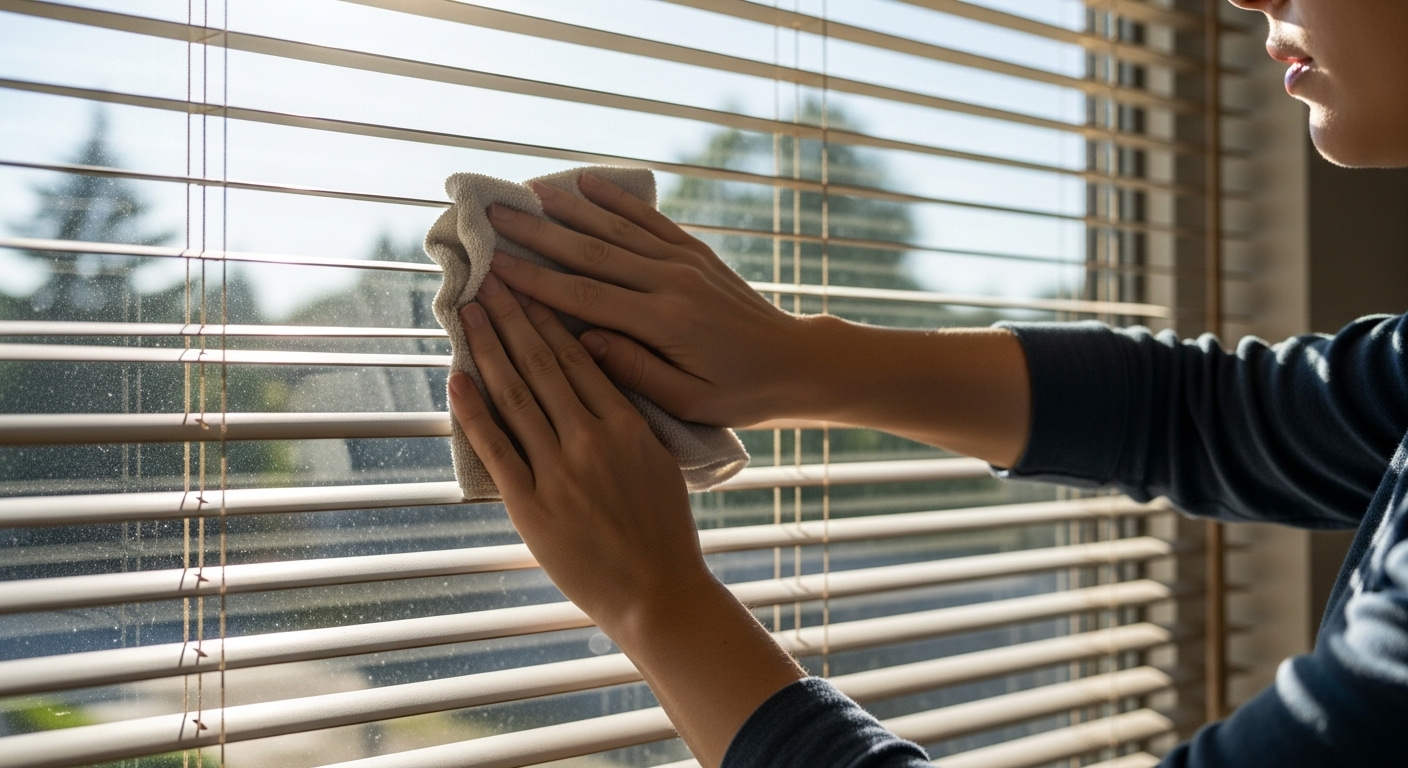
Cleaning Venetian Blinds (Wood, Faux Wood, Aluminium)
Venetian blinds can collect dust quickly, but regular light cleaning stops it becoming a problem.
Light Cleaning (Weekly or Fortnightly)
- Shut the slats flat.
- Use a dry microfibre cloth, feather duster or vacuum with a soft brush attachment.
- Wipe or vacuum gently across each slat.
- Tilt the slats in the opposite direction and repeat.
This removes dust without taking the blind down.
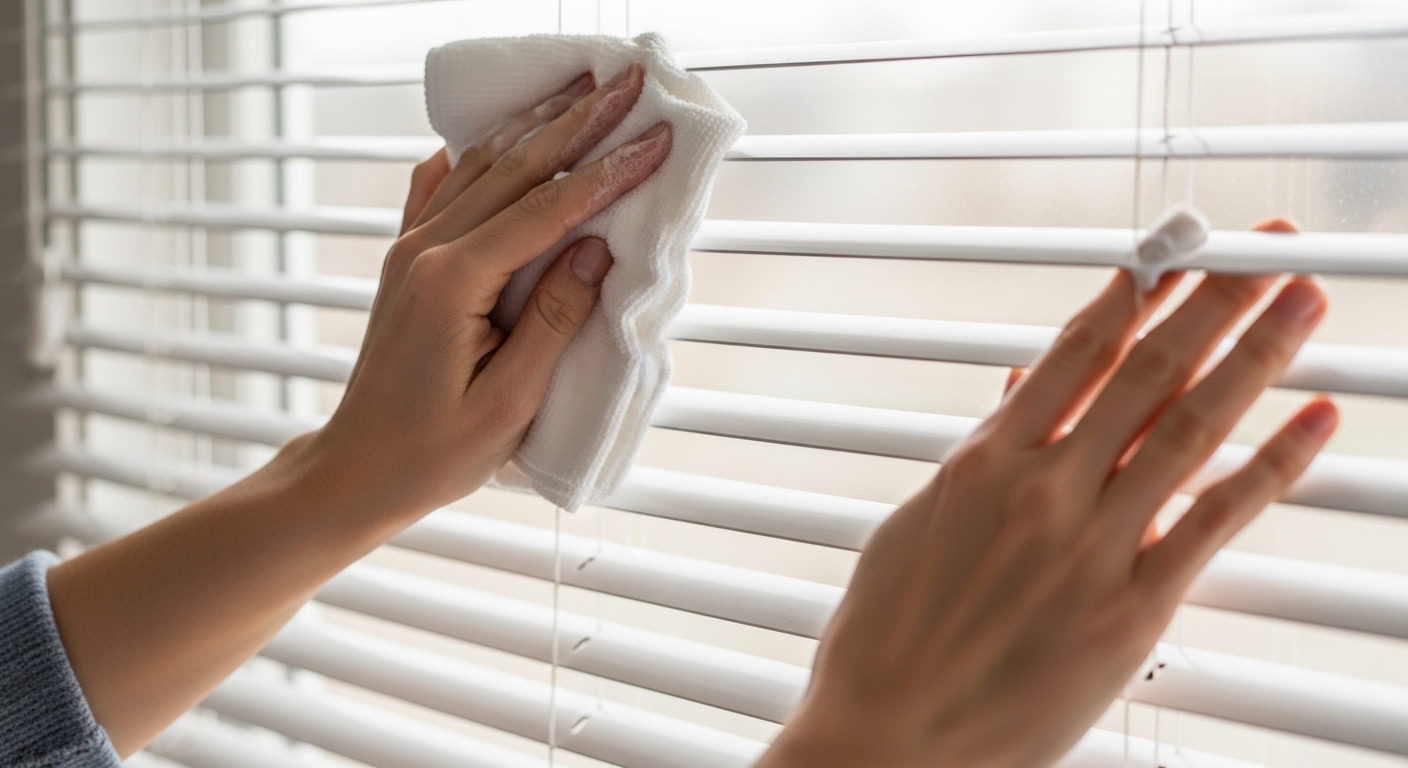
Deeper Cleaning (Occasionally)
For faux wood or aluminium:
- Dampen a soft cloth with warm soapy water.
- Wipe individual slats gently, front and back.
- Dry immediately with a clean towel to avoid water spots.
Avoid soaking real wood blinds. Instead:
- Use a slightly damp cloth followed by immediate drying, or
- Use wood-safe furniture wipes for stubborn marks.
Be careful around cords and tilt mechanisms to avoid damaging the controls.
Cleaning Roller Blinds
Roller blinds are often easier to clean than people expect, particularly if they’re made from vinyl, polyester or coated fabrics.
Light Cleaning
- Lower the blind fully.
- Use a vacuum with a brush attachment or a dry microfibre cloth to remove surface dust.
- Pay attention to the edges where dust often collects.
Spot Cleaning
- Use warm water with a small amount of mild washing-up liquid.
- Dip a soft cloth, wring it out, and dab gently at marks.
- Wipe away soap with a damp cloth, then pat dry.
Avoid scrubbing or soaking, as this can damage some fabrics or cause rippling.
For mould-prone areas like kitchens and bathrooms, wipe condensation away regularly and keep the fabric dry.
Cleaning Vertical Blinds
Vertical blinds are often found in patio doors, conservatories and larger windows, so they can catch dust easily but are simple to maintain.
Quick Clean
- Close the blinds so the slats sit side by side.
- Dust using a soft cloth or duster, moving top to bottom.
- For fabric vanes, use a vacuum with a brush attachment.
Deeper Clean
For PVC or vinyl vanes:
- Wipe with warm, soapy water and a sponge or cloth.
- Dry with a soft towel.
For fabric vanes:
- Spot clean with mild detergent and water.
- Some fabric vanes are removable and may be suitable for hand-washing—check the label or manufacturer instructions first.
Avoid twisting or bending the vanes, as this can affect how they hang.
Cleaning Roman Blinds
Roman blinds combine style with comfort but do gather dust and hold creases if neglected.
Light Maintenance
- Use a hand-held vacuum or upholstery brush to remove dust.
- Lower the blind fully and work from top to bottom.
Spot Cleaning
- Check the fabric type first.
- Use mild soapy water on stains and blot gently—never scrub.
- Pat dry with a towel to prevent water marks.
Some Roman blinds have detachable fabric panels that may be suitable for dry cleaning or gentle hand-washing. Always follow the care label.
Cleaning Pleated and Cellular Blinds
Pleated and honeycomb-style blinds need gentle handling.
Routine Dusting
- Fully extend the blind.
- Use a soft brush vacuum attachment or feather duster.
- Work carefully across the folds to remove dust.
Spot Cleaning
- Use a lightly dampened cloth with a tiny amount of detergent.
- Dab the area, avoid soaking.
- Dry carefully with kitchen towel or a soft cloth.
Check for any manufacturer restrictions, as some cellular blinds have delicate inner layers that trap water.
Tackling Grease and Stubborn Marks
Kitchens can leave residue from cooking, while bathrooms can cause water marks.
- For greasy marks on PVC, faux wood or aluminium, use warm, soapy water and a soft sponge.
- Avoid abrasive scourers or strong chemicals.
- For limescale or water spots, wipe down with a damp cloth regularly and ensure the blind dries fully.
If mould appears, mix a small amount of white vinegar with water and dab the area lightly before wiping clean and drying thoroughly. Only do this on materials that tolerate moisture and avoid using vinegar on real wood.
Maintaining Mechanisms and Cords
Dust and residue can affect how blinds open and close. To keep them working smoothly:
- Clean around headrails, brackets and cords with a dry cloth or duster.
- Avoid getting moisture on metal parts that might rust.
- If cords look grubby, wipe gently with a damp cloth and mild detergent.
- For tension issues or stiff controls, check for trapped dust or consult the manufacturer for safe lubrication options.
Preventing Build-Up and Extending Lifespan
You can make cleaning much easier by preventing dirt settling in the first place:
- Dust or vacuum blinds lightly every week or two.
- Open windows to reduce condensation, especially in bathrooms.
- Use extractor fans when cooking or showering.
- Keep pets and children from tugging on slats or cords.
- Wipe away marks as soon as you spot them rather than leaving them to set.
If blinds are in rented properties, note their condition early on and follow landlord or supplier recommendations to avoid damage.
When to Take Blinds Down for Cleaning
In most cases, you don’t need to take blinds down unless dirt has built up significantly. However, it might be worth removing blinds when:
- Grease has settled deep into the material
- Slats are heavily coated in dust
- Fabric blinds need deep cleaning or freshening
- Mechanisms need attention away from the window
When removing blinds, lay them flat on a clean surface and follow care instructions carefully.
When It Might Be Time to Replace
Even with good upkeep, blinds won’t last forever. Consider replacing them if you notice:
- Persistent mould spots that won’t lift
- Warped or cracked slats
- Frayed fabric edges
- Stiff or broken operating mechanisms
- Significant fading or staining
- Damaged headrails or brackets
Replacing old blinds can instantly refresh a space and reduce maintenance work.
Final Thoughts
Cleaning and maintaining your blinds doesn’t need to feel like a big task. With regular light dusting, occasional spot cleaning and a little attention to mechanisms and moisture, your blinds can stay looking good for years. Choosing the right cleaning method for the specific material matters—what works for PVC or aluminium might not suit fabric or real wood.
By tackling dust and marks early, airing out rooms and avoiding harsh products, you’ll prevent most common issues before they form. Keeping blinds fresh is largely about consistency and simple habits, not deep scrubbing or taking them apart.